


Paint Decontamination: Why Washing Alone Isn't Enough After Winter
You've washed your car, it's shining, the winter grime is gone — and yet the paint feels rough when you run your hand over it. It's not your imagination. What you're feeling are contaminations: rust specks, industrial fallout, tar residue, and brake dust that have etched themselves into the clear coat over months. A normal wash won't remove them. For that, you need decontamination — the step most people skip, only to wonder why their sealant doesn't last.
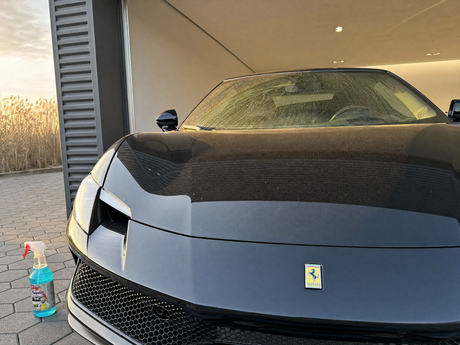
Especially now in April, after a long winter of road salt, spray, and cold nights, is the perfect time for thorough paint preparation. If you've already completed the first step from our spring wash article, it's time to go deeper: Decontamination means removing everything that water and shampoo can't.

What's actually on your paint — and why won't it come off?
The term "decontamination" sounds technical, but it describes something very specific: the removal of particles that have chemically or mechanically bonded with the paint surface. Rust specks are the best-known example — tiny iron particles from brake dust and rail traffic that embed themselves in the clear coat and oxidize there. On white or light-colored vehicles, you see this as orange spots; on dark paints, you only notice it when you run your hand over it.
Additionally, there are tar and bitumen splatters from the road, especially after road construction in autumn, which have dried up over the winter. Industrial fallout, which settles as a fine film and chemically reacts when wet. And brake dust, which not only attacks the rims — some of it also lands on the paint, especially around the wheel arches and sills. All these contaminations are stubborn. Shampoo won't remove them because they are not loose dirt, but rather embedded in the pores of the clear coat.

The three pillars of decontamination: Chemical, mechanical, solvent-based
Proper decontamination works in three stages, and the order is crucial. If you start with a clay bar before the rust specks have been chemically dissolved, you'll drag iron particles across the paint — and that will cause scratches, not cleanliness.
Stage 1: Chemical Decontamination — Dissolving Rust Specks. An iron remover based on thioglycolic acid reacts with embedded iron particles and lifts them from the clear coat without mechanically stressing the surface. You spray the product onto the clean, wet paint and wait 3–5 minutes. The characteristic color change to violet shows you where iron is dissolving — the darker the discoloration, the more contamination was present. Afterward, rinse thoroughly with water. For this, I reach for D-CON „Light" Pre-Cleaner & De-Ironizer — it's formulated as an iron remover but is also mild enough for regular use on sealed surfaces. If you want to clean your rims at the same time, you can use D-CON „V4" Wheelcleaner & De-Ironizer — more concentrated, ideal for baked-on brake dust on rims, but the „Light" version is gentler on paint.

Stage 2: Solvent-based — Removing Tar and Adhesives. What the iron remover doesn't catch are organic contaminations: tar, bitumen, insect remains, adhesive residues. These require a solvent. The Koch-Chemie Tar Remover A „Tea" is the classic here — a solvent-based cleaner that you apply specifically to the affected areas, let it dwell briefly, and then wipe off. It smells like a workshop, but it works reliably. Don't use it over large areas, but pinpoint it where you see tar splatters or black spots. Afterward, wash the area again with shampoo to remove solvent residues.
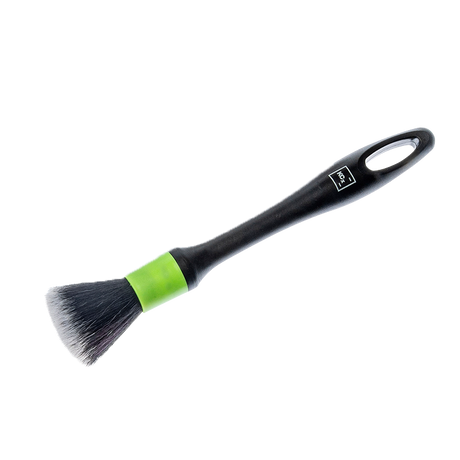
Stage 3: Mechanical Decontamination — Claying. Now comes the step where you really feel what's happening. A clay bar glides over the paint with a lubricant spray and picks up everything that hasn't been chemically dissolved: stubborn industrial particles, overspray, mineral deposits. The Koch-Chemie Cleaning Clay „Rkb" Mild in blue is the right choice for most cases — fine enough not to unnecessarily roughen the clear coat, but abrasive enough to reliably grab contaminations. If you have a car that hasn't been clayed in years or has been exposed to heavy industrial contamination, opt for the red „Rkr" version — significantly more aggressive, so only use it if absolutely necessary.

When claying, the lubricant spray is not optional. Without lubricant, you'll drag dissolved particles across the paint and create exactly the scratches you want to avoid. The Koch-Chemie Clay Spray „Cls" is made for this — spray a generous amount onto a 30x30 cm area, clay with light pressure in straight lines, and fold the clay after each section so that the picked-up particles disappear inside. You'll feel the difference immediately: rough before, glass-smooth afterward.
If you struggle with traditional clay or want to efficiently work on larger areas, you can use a Koch-Chemie Clay Scrubber or the Clay Pad instead of a clay bar — both work on the same principle, but with a flat contact surface that works faster than a clay block on large areas like the hood and roof. The disadvantage: they are slightly less precise in corners and edges.
Common Mistakes — and why the order makes all the difference
The most common mistake I see: people clay first. Without prior chemical decontamination, the clay drags iron particles across the paint. That's the fastest way to new swirl marks. First chemical removal, then mechanical removal — this order is non-negotiable.
Second mistake: Too much pressure when claying. Clay works by adhesion, not by friction. Light pressure, plenty of lubricant, straight lines. If you press as if you want to massage the paint, you'll do more damage than good. And third: Not sealing after decontamination. You've just removed everything from the surface — including the last layer of protection. Now the paint is open, bare, sensitive. Within 24 hours, a sealant or at least a spray sealant should be applied. The SONAX XTREME Ceramic Spray Sealant is an uncomplicated finish here — spray on, spread, wipe off. No coating effort, but immediate protection and good durability for the next few weeks.

Daniel's Tip: Do the "bag test" before and after decontamination. Put your hand in a thin plastic bag (a freezer bag is fine) and run it over the wet paint. The bag greatly enhances your sense of touch — you'll feel every roughness, every rust speck. Before, you'll feel it distinctly; afterward, the bag will glide like on ice. That's the moment you know: Now the paint is truly clean.
Conclusion: Decontamination is the step that makes the difference
A thorough wash is the foundation — but only the foundation. If you truly want to care for your paint, you need to go deeper: chemically dissolve rust specks, specifically remove tar, mechanically smooth the surface, and then seal it. This process might take an hour longer than a normal wash, but you'll feel and see the results immediately. Smoother paint, better water beading, longer sealant durability — and the knowledge that your paint is truly clean, not just visually.
Everything you need for a complete decontamination can be found under Paint Preparation. And if you want to know how to protect your paint from pollen, which is starting to really kick in now in April — check out our article on that.
No time for the whole post? Get it summarized: